

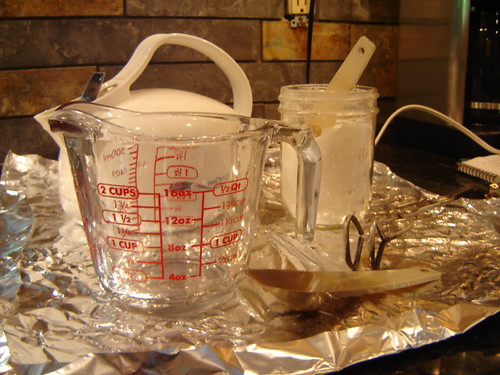
- 2 cup measuring cup
- something to stir the dye with...preferably plastic
- tongs to move my wool about
- electric tea kettle for boiling water on the fly
- citric acid or vinegar to set your colors
- perhaps some foil or plastic on your countertop in case you get a little messy
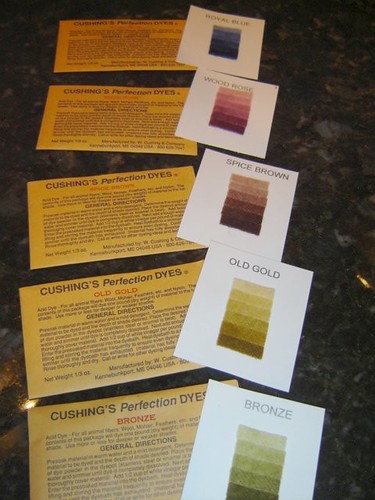
For this technique you will also need a packet of dye....I'm using Cushings (they have GOBS of colors) just click on the color card below to go to their website.
and I'm doing several different colors so I've selected:
- bronze
- old gold
- spice brown
- woodrose
- royal blue
 You'll also need some dishwashing liquid, Jet Dry or synthropol as a wetting agent for your wool. I use a little dishwashing liquid (no bleach please as this will eat away at the fibers of your wool) and a little Jet Dry.
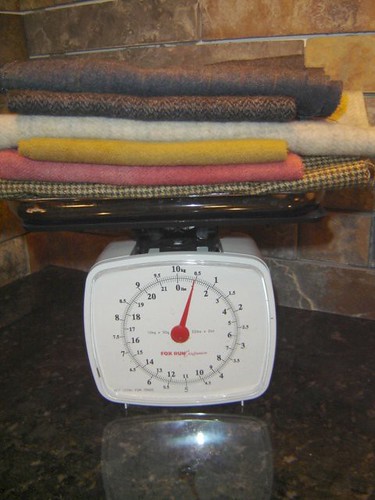
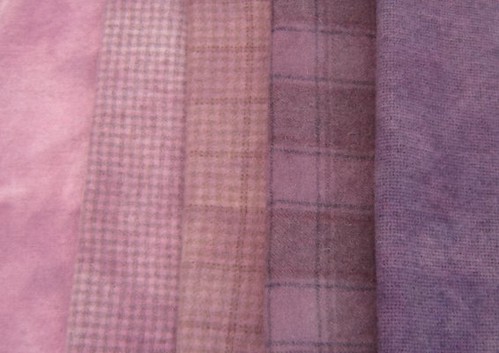
 Then of course you need your wool. You'll need about a pound of wool for this. You can use new wools....here I'm using 5 different wools, 1/4 yard of each.
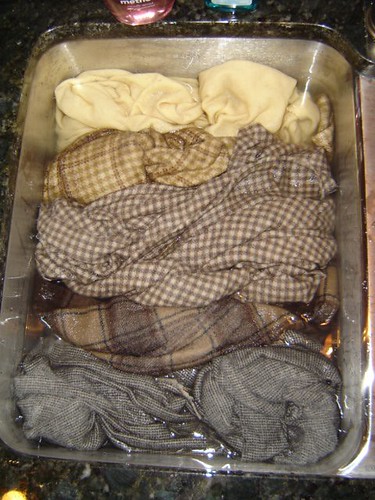
This is an awesome way to dye your recycled wools and bits and pieces left over from other projects.....I'm dyeing both ways today.....I have so many recycled wools and scraps that I really should get in there and do this more often!
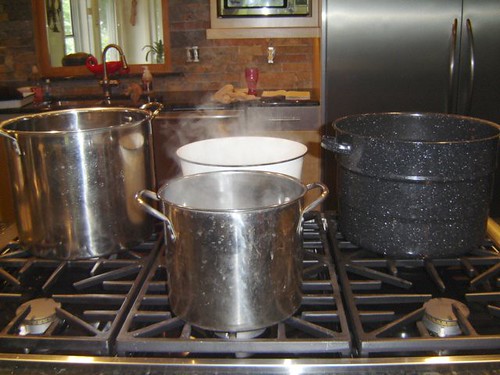
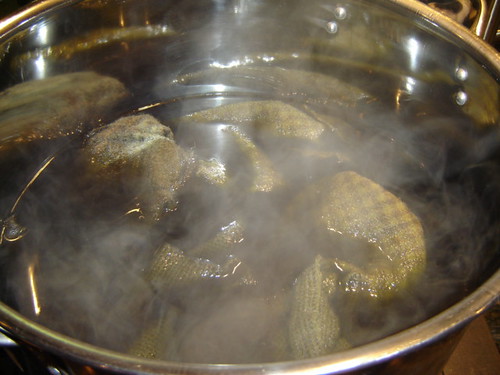
Then of course you'll need a pot to dye your wool in. I'm not a pot snob...as you can see I have stainless steel, white enamel and an old black enamel canning pot. I use the larger pots for the stone soup dyeing.
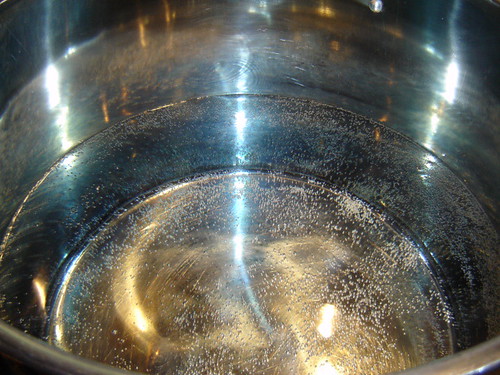
Now, bring your water up to a simmer
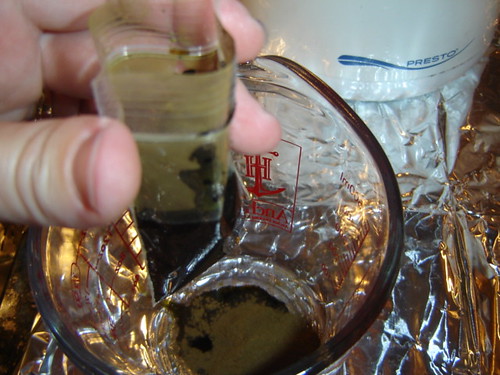
and then empty your ENTIRE packet of dye into your measuring cup.

You know how there is always a bit of "dye dust" left in the package....you can add a little water to get some of that out or save it back and on a day when you just need a wash of color over white you can add a little water to it and use that.....waste not want not!
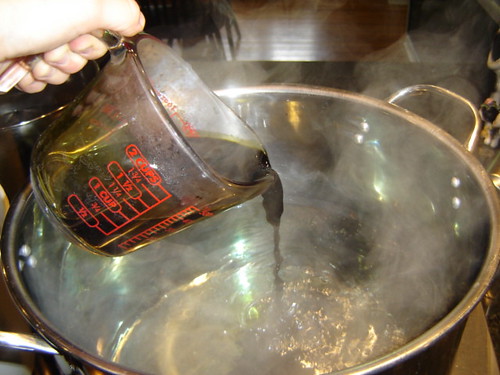
Add your boiling water to your dye in the measuring cup and stir it around for about a minute until it's completely dissolved......kind of like you do when making Jell-O. Once it's dissolved, add it to your dye bath.
Now, if you stir MORE your wool coloring will be more even.

Old Gold

Spice Brown

Woodrose
Royal Blue

Go forth and be creative,
Tammy
*it has been recommended that you wear gloves and a mask when dyeing*
*do not use the tools that you dye with to cook with*
REALLY NICE tutorial Tammy! You are such a wonderful sharing person.
ReplyDeleteTammy,
ReplyDeleteThanks so much. You make it sound so easy. I had asked about this earlier. Hope this tutorial will be available for awhile so I can refer back to it. Might be the first thing I do with actual dyes in it.
trisha
Great lesson Tammy!!! Love your new kitchen,your stovetop looks pretty awesome.Thanks,Julie
ReplyDelete